Chances are you’ve seen a makeup blending sponge being used in your favorite makeup tutorial one time or another. Perhaps you’ve even used one at some point. You may even have one in your makeup bag right now! What you may not realize is; a makeup blending sponge is a versatile makeup sponge that can be used for practically anything in your makeup bag. Today I am going to share 20 makeup blending sponge hacks that will leave you looking flawless all day long!
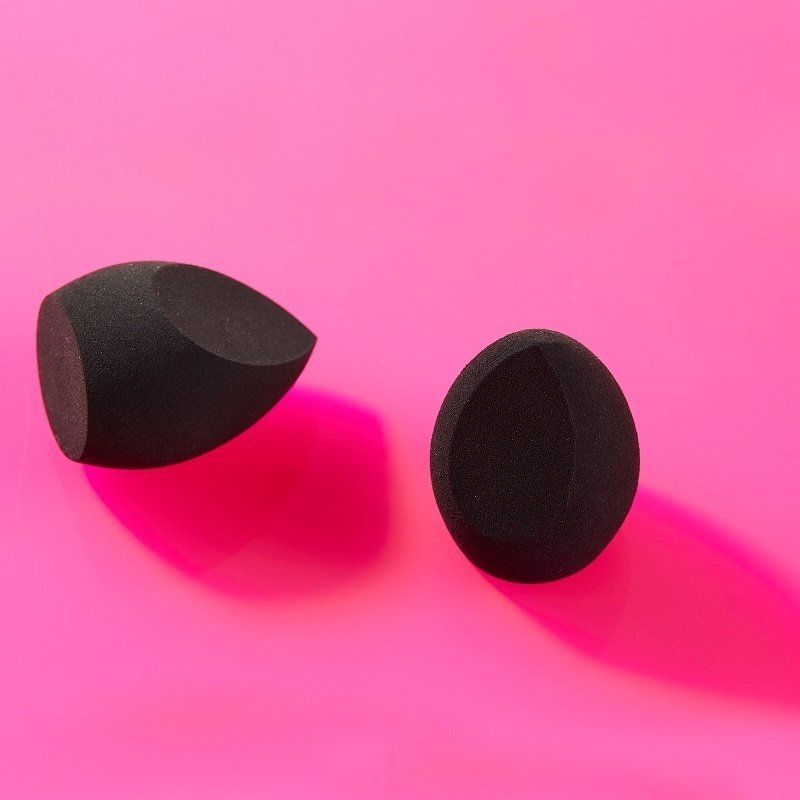
Motives Blending Sponge
Before I get to all of the makeup blending sponge hacks I have for you, let’s talk about my favorite blending sponge. There are many sponges available on the market, but I haven’t used anything that has compared to the
NEW Motives Blending Sponge.
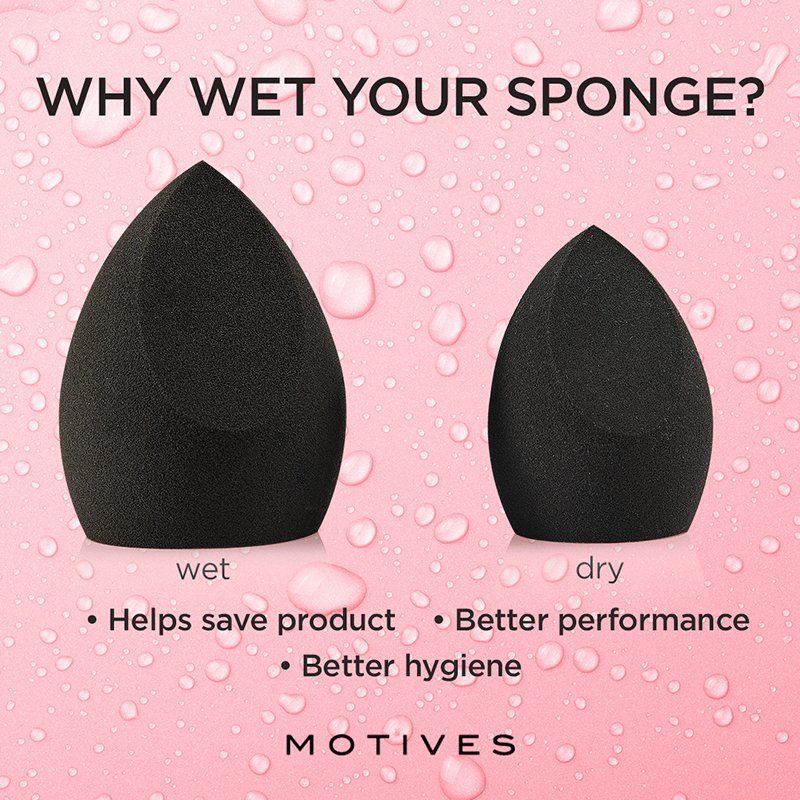
1. Dampen the Sponge Before Use
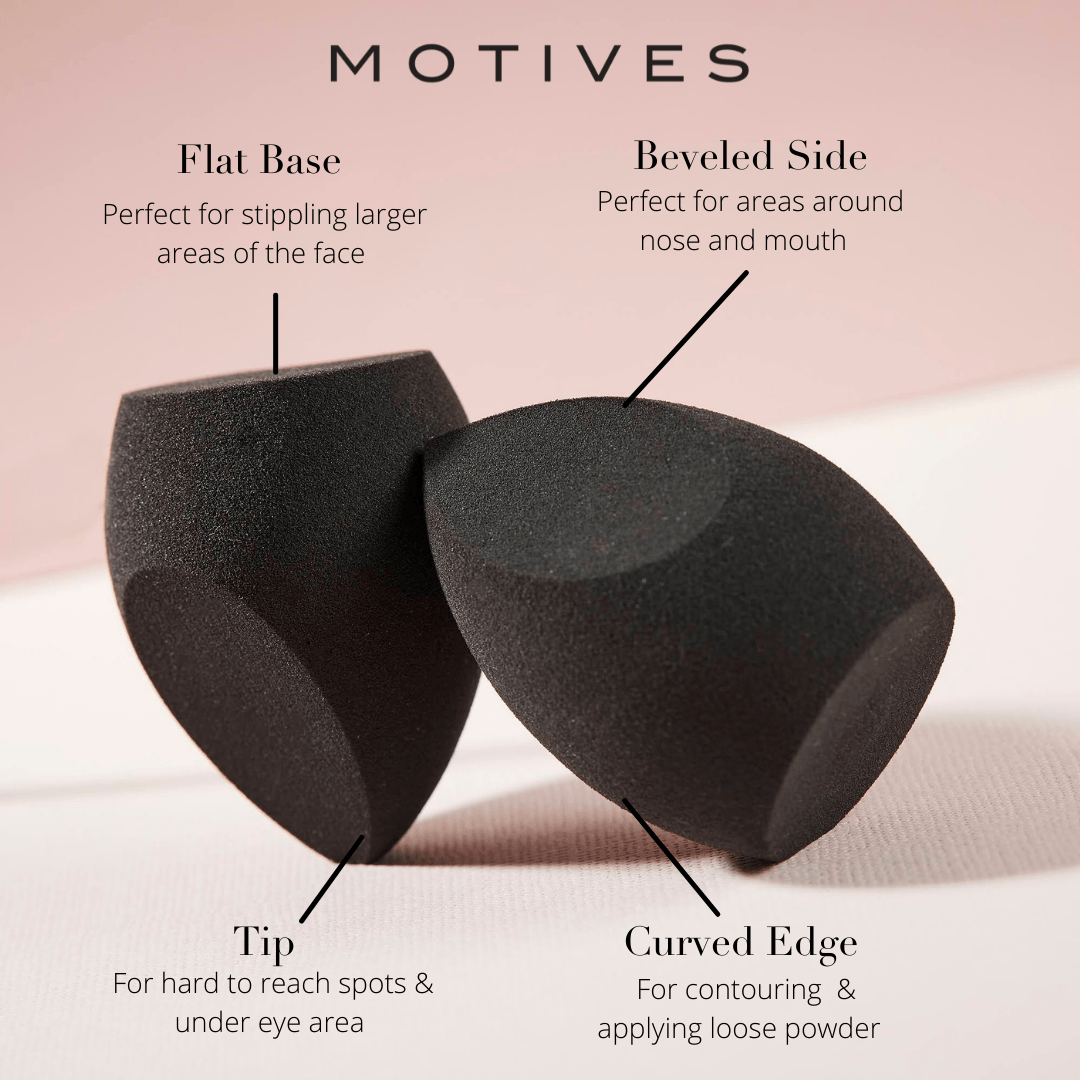
2. Use Each Side Strategically
3. Bounce & Stipple
The key to applying makeup with a blending sponge is using a bouncing or stippling motion instead of a wiping or sweeping motion. You can apply makeup to your face or the blending sponge first, it doesn't really matter. You can start by dotting the foundation on your face, then start to bounce it in, starting in the areas that you’d like more coverage.
4. For a “No Makeup” Makeup Look
5. For an Oily T-Zone
6. Use to Apply Your Primer
Don’t waste your products! Before you apply your
foundation, apply a bit of primer directly onto your sponge. This will act as a barrier preventing the product from being absorbed into the sponge. It also helps create a more even finish as the primer helps hydrate and smooth the skin.
7. Hydrate Flakey Skin
8. Use with Powder
9. Use After Powder
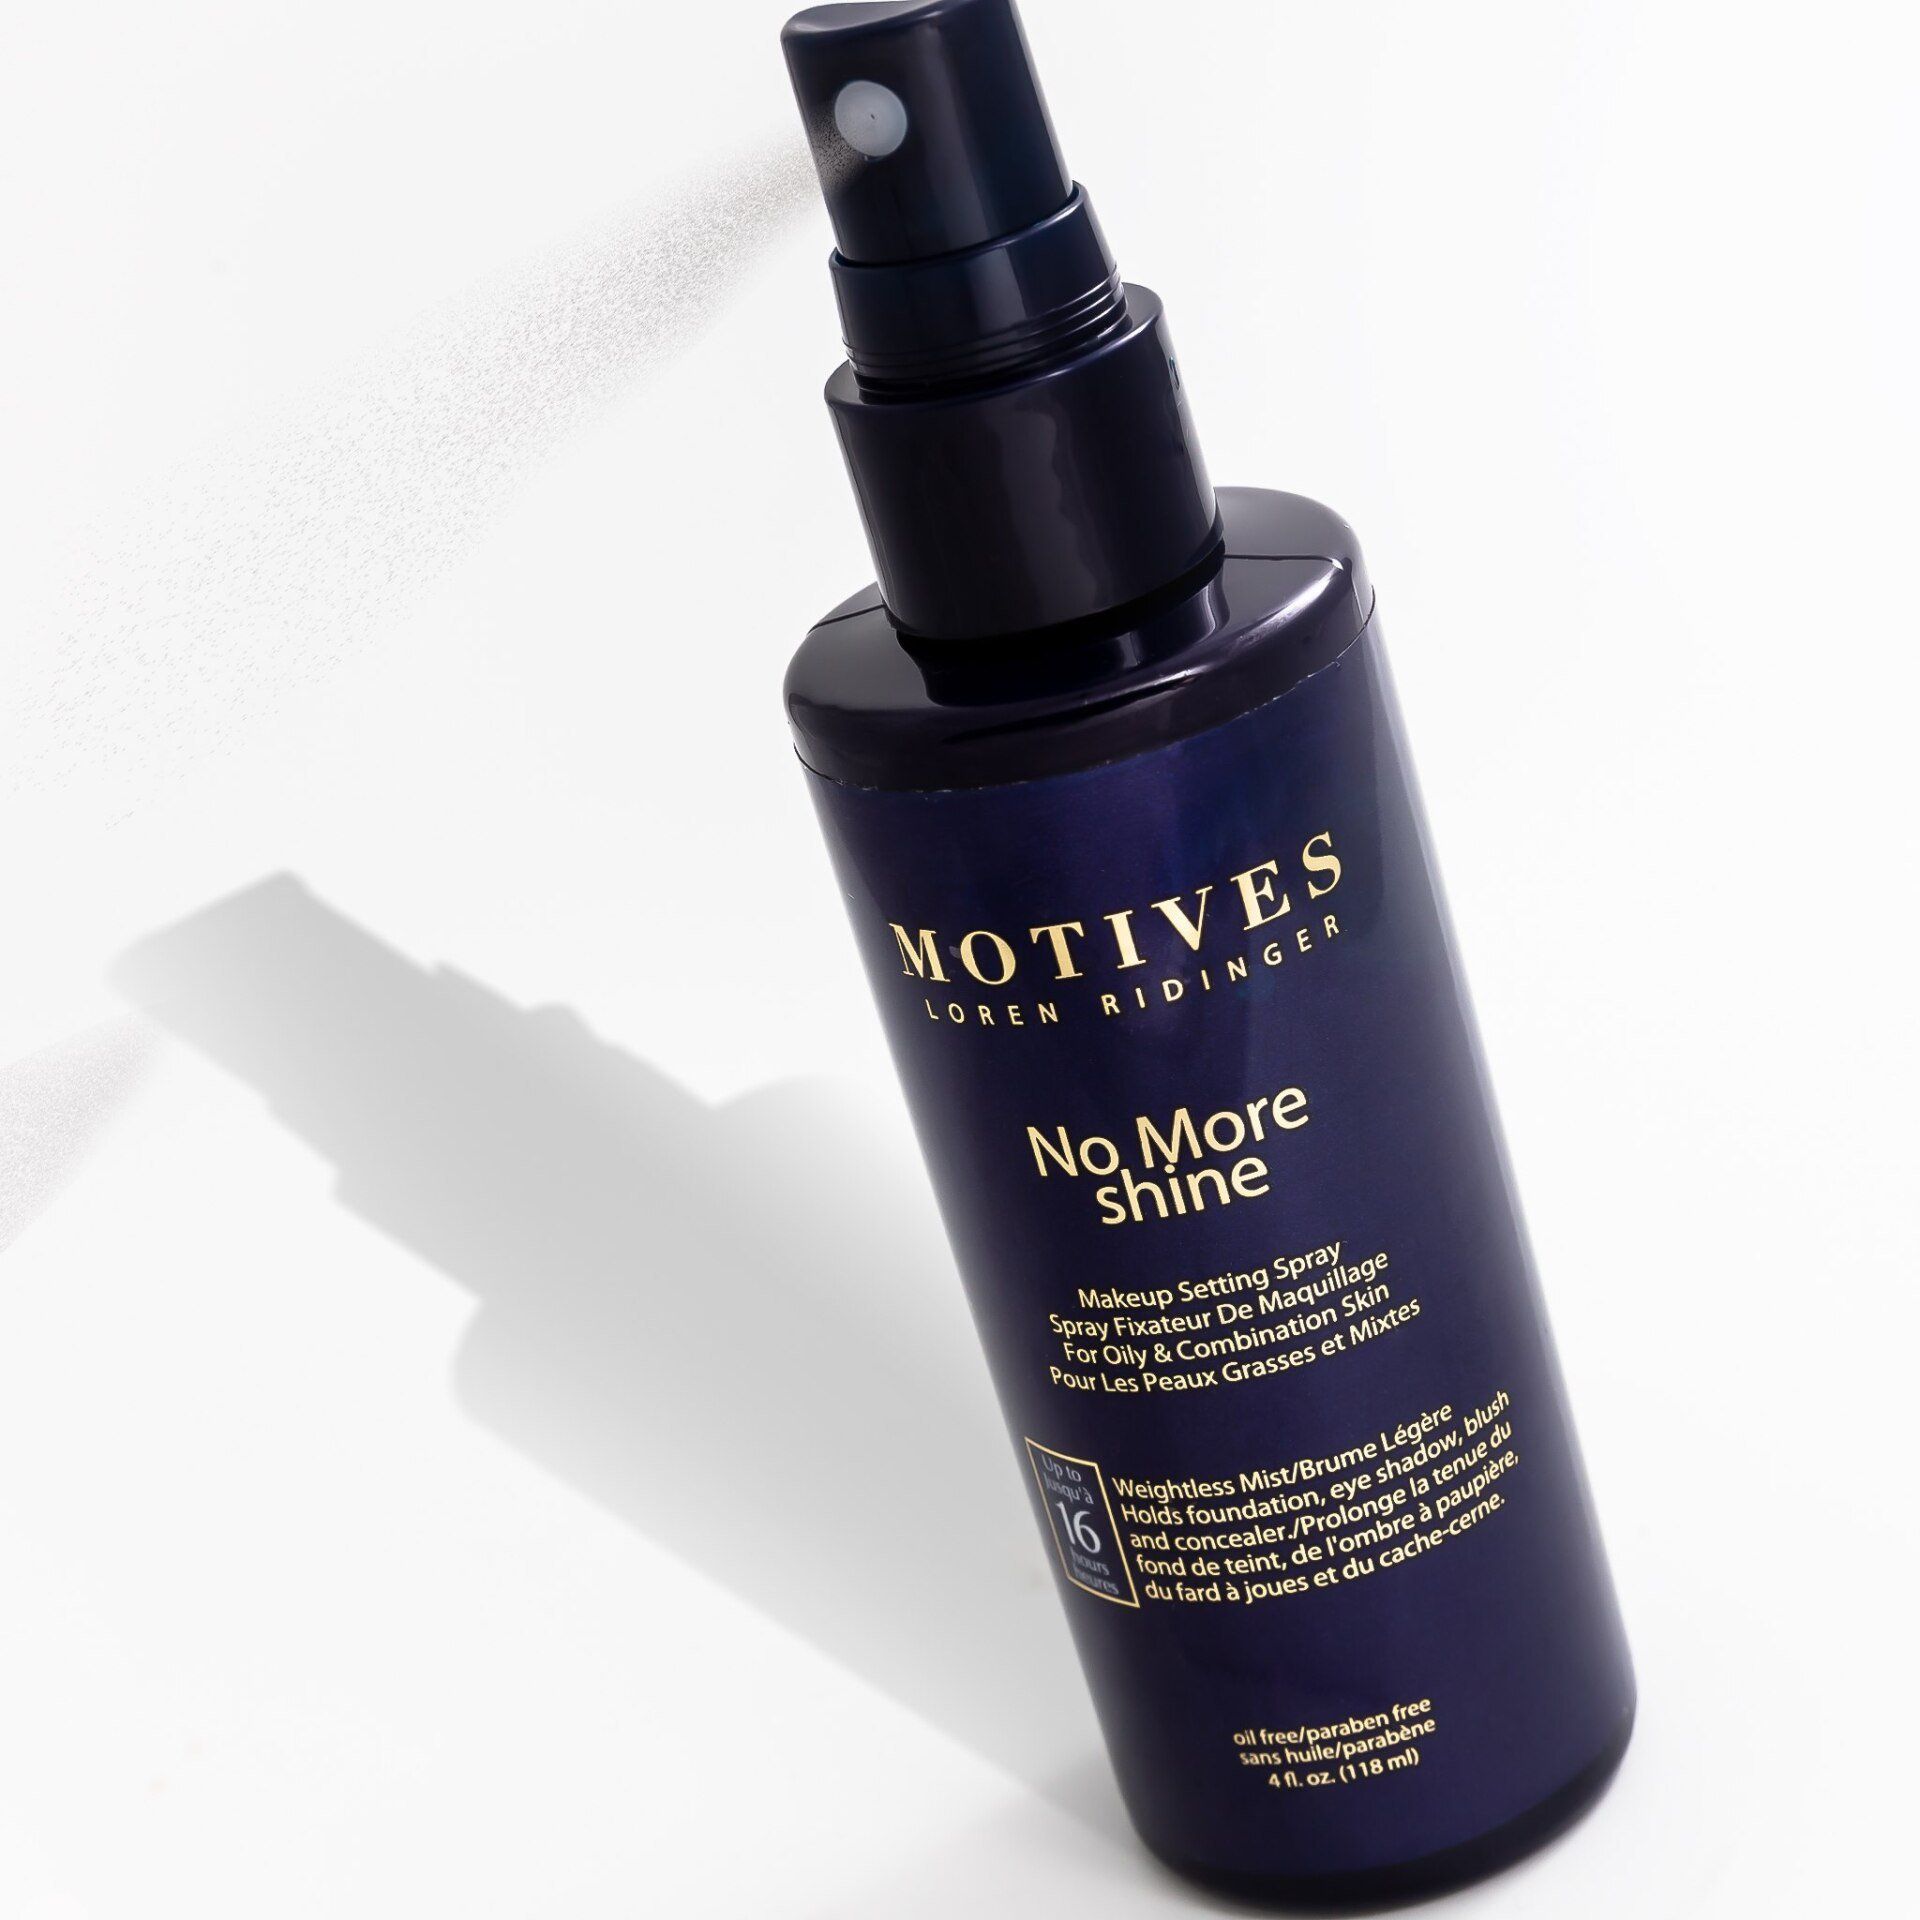
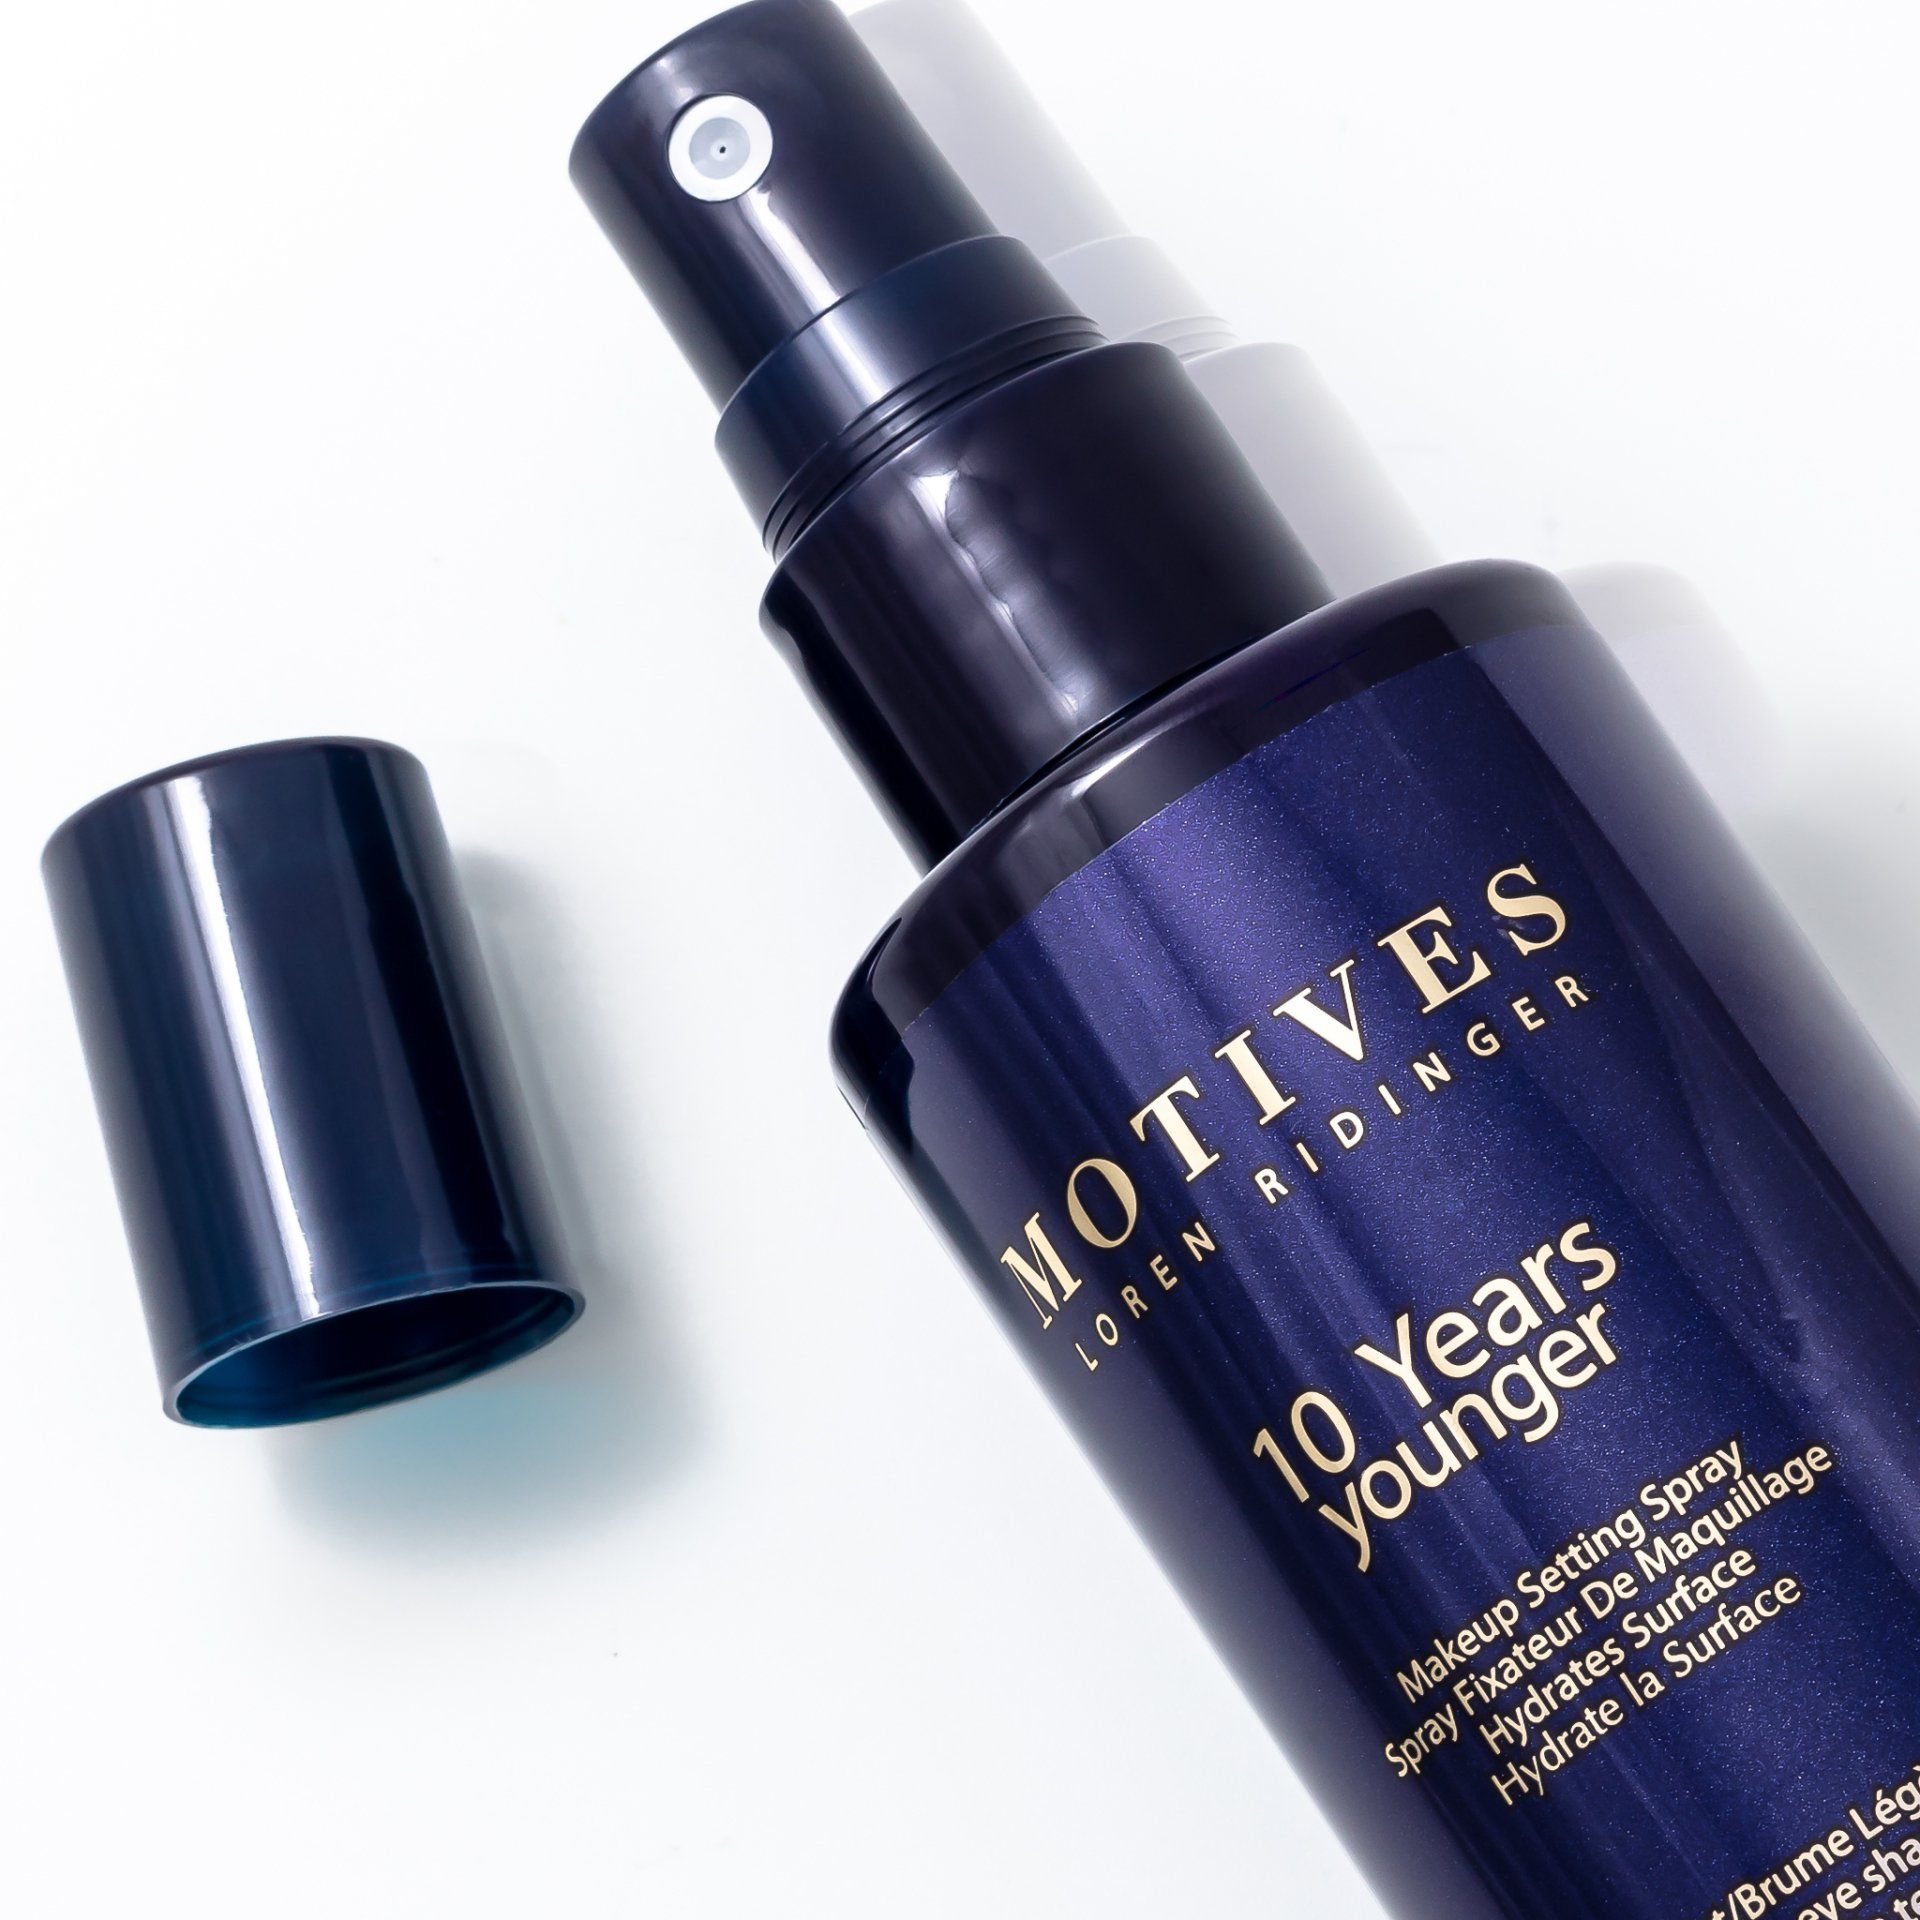
Do you ever have those times where you apply way too much powder? Don’t panic, bounce your blending sponge over the powder and it will pull just the right amount back off. You can even spray your sponge with one of the
Motives Setting Sprays
for a little extra help.
10. Brighten Under Eye Area
Have you heard of “baking”? To bake, start by grabbing a damp blending sponge and apply a layer of
Motives Translucent Loose Powder
using a tapping motion on the areas you want to brighten and set under the eye. Leave the powder on for three to five minutes then sweep away the excess using a fluffy brush or even buff away with your blending sponge.
11. For a Crease Resistant Under Eye
12. For Added Oil Control
Bake on some powder in the areas that tend to get oily throughout the day. To bake, start by grabbing a damp blending sponge and apply a layer of
Motives Translucent Loose Powder
using a tapping motion on the areas you want extra oil control. Leave the powder on for three to five minutes then sweep away the excess using a fluffy brush or buff away with your blending sponge.
13. To Set Your Foundation
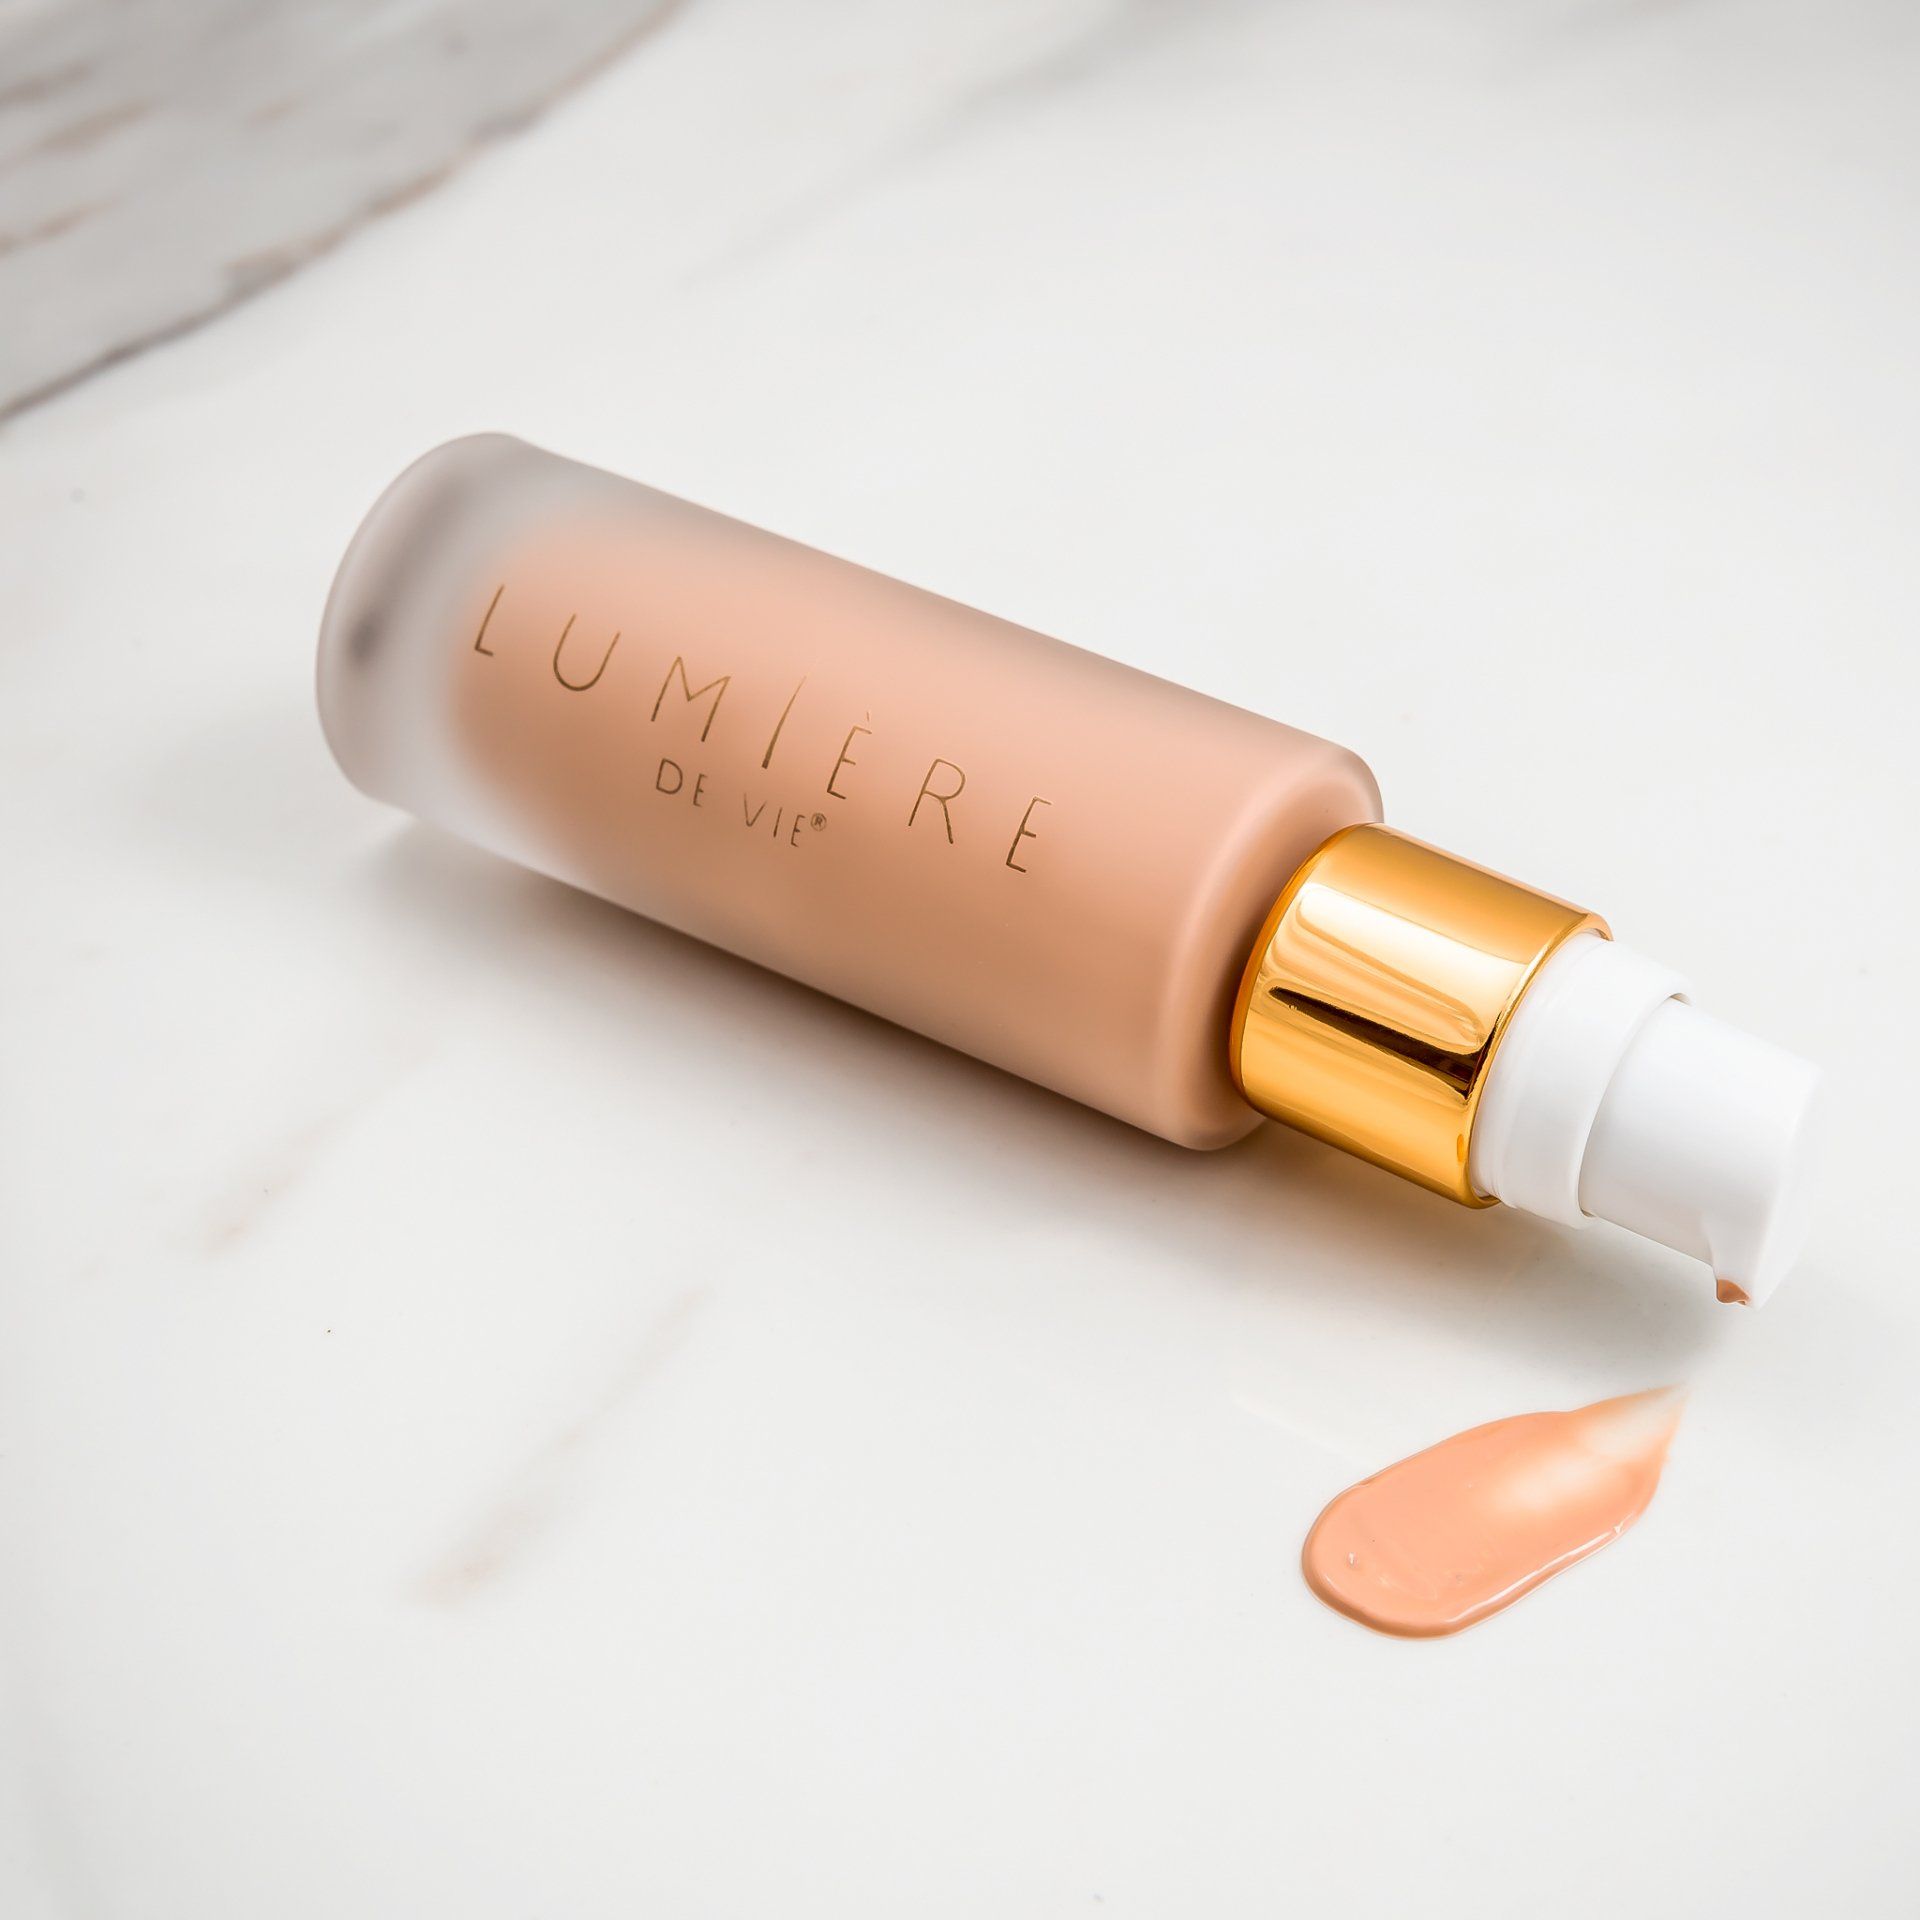
14. For Dewy Skin
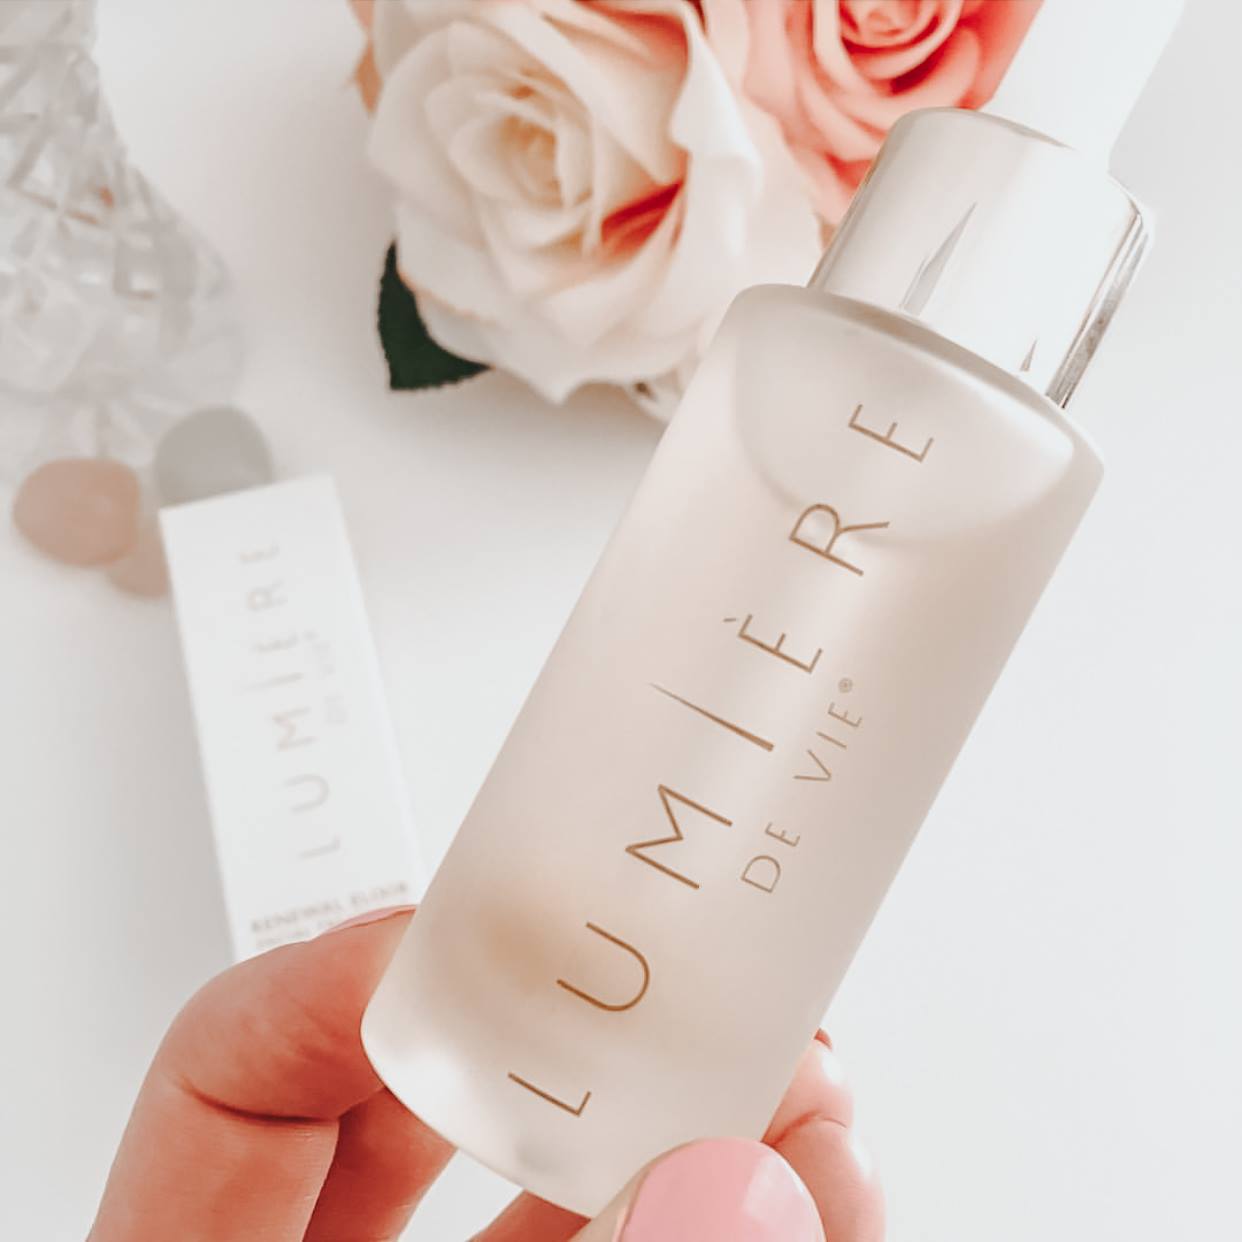
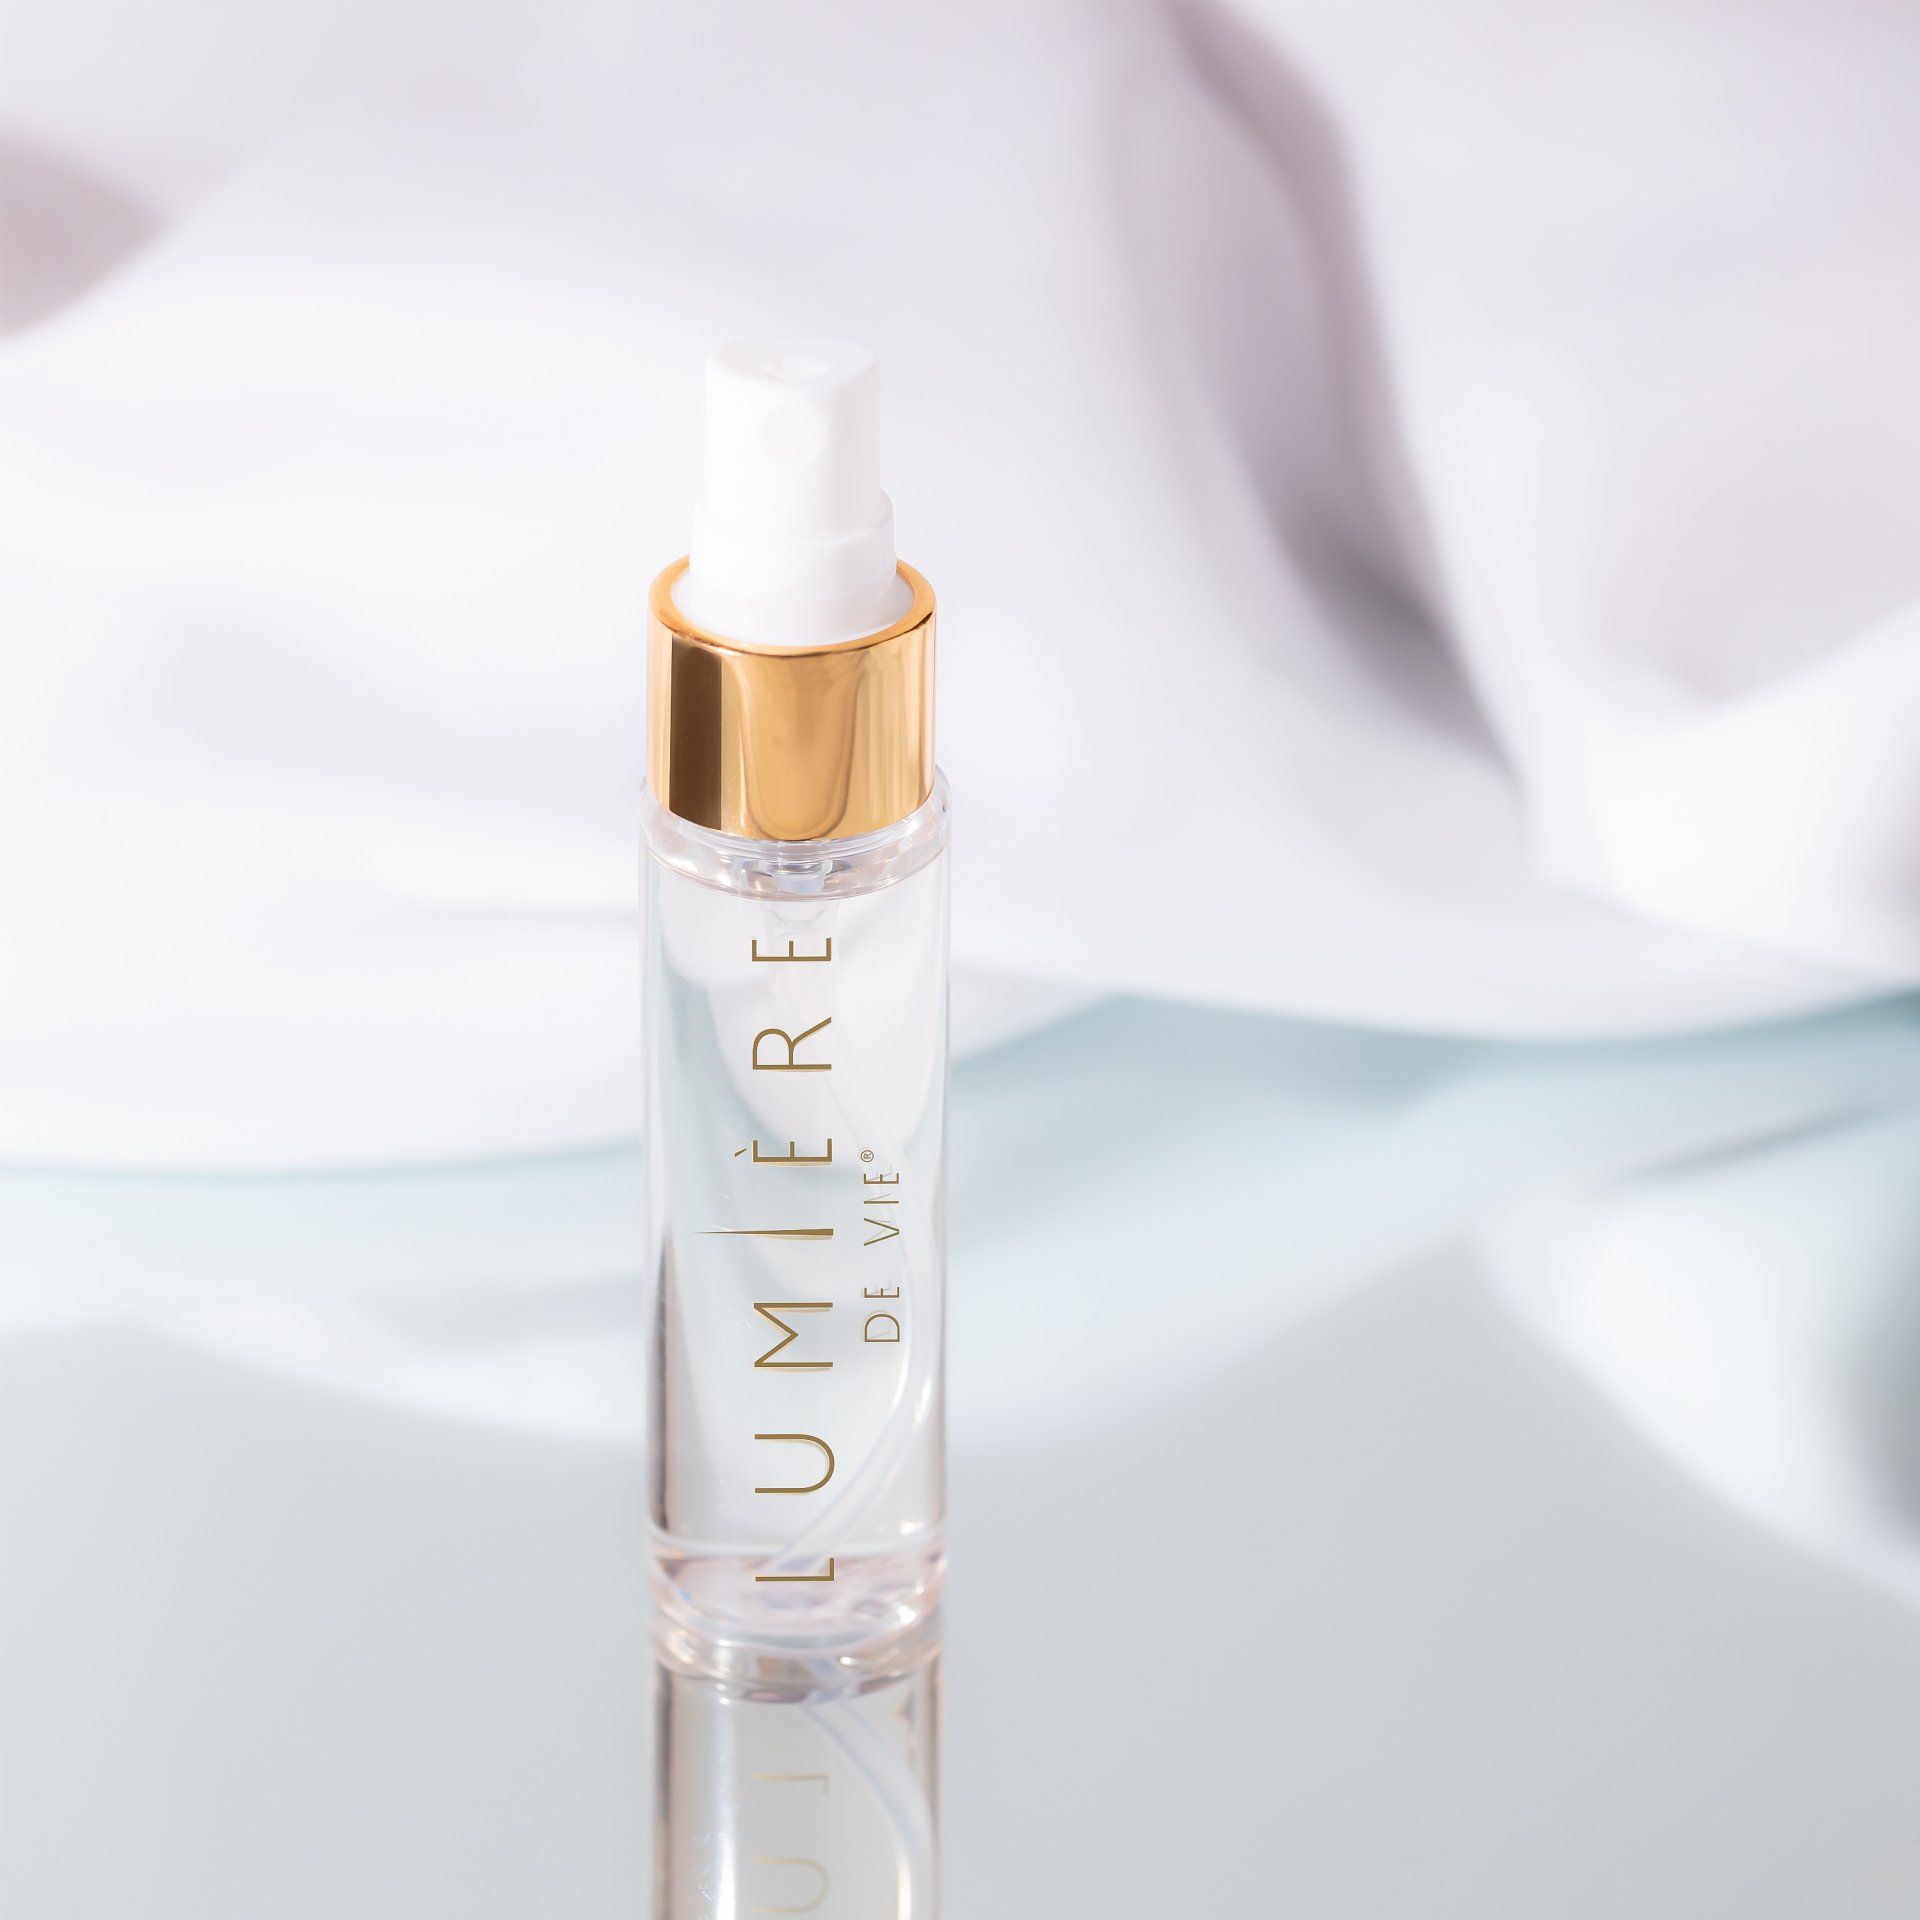
For the perfect dewy complexion, apply a few drops of
Lumiere de Vie Renewal Elixir
to your blending sponge and stipple over your makeup. This will give you the right amount of natural glow.
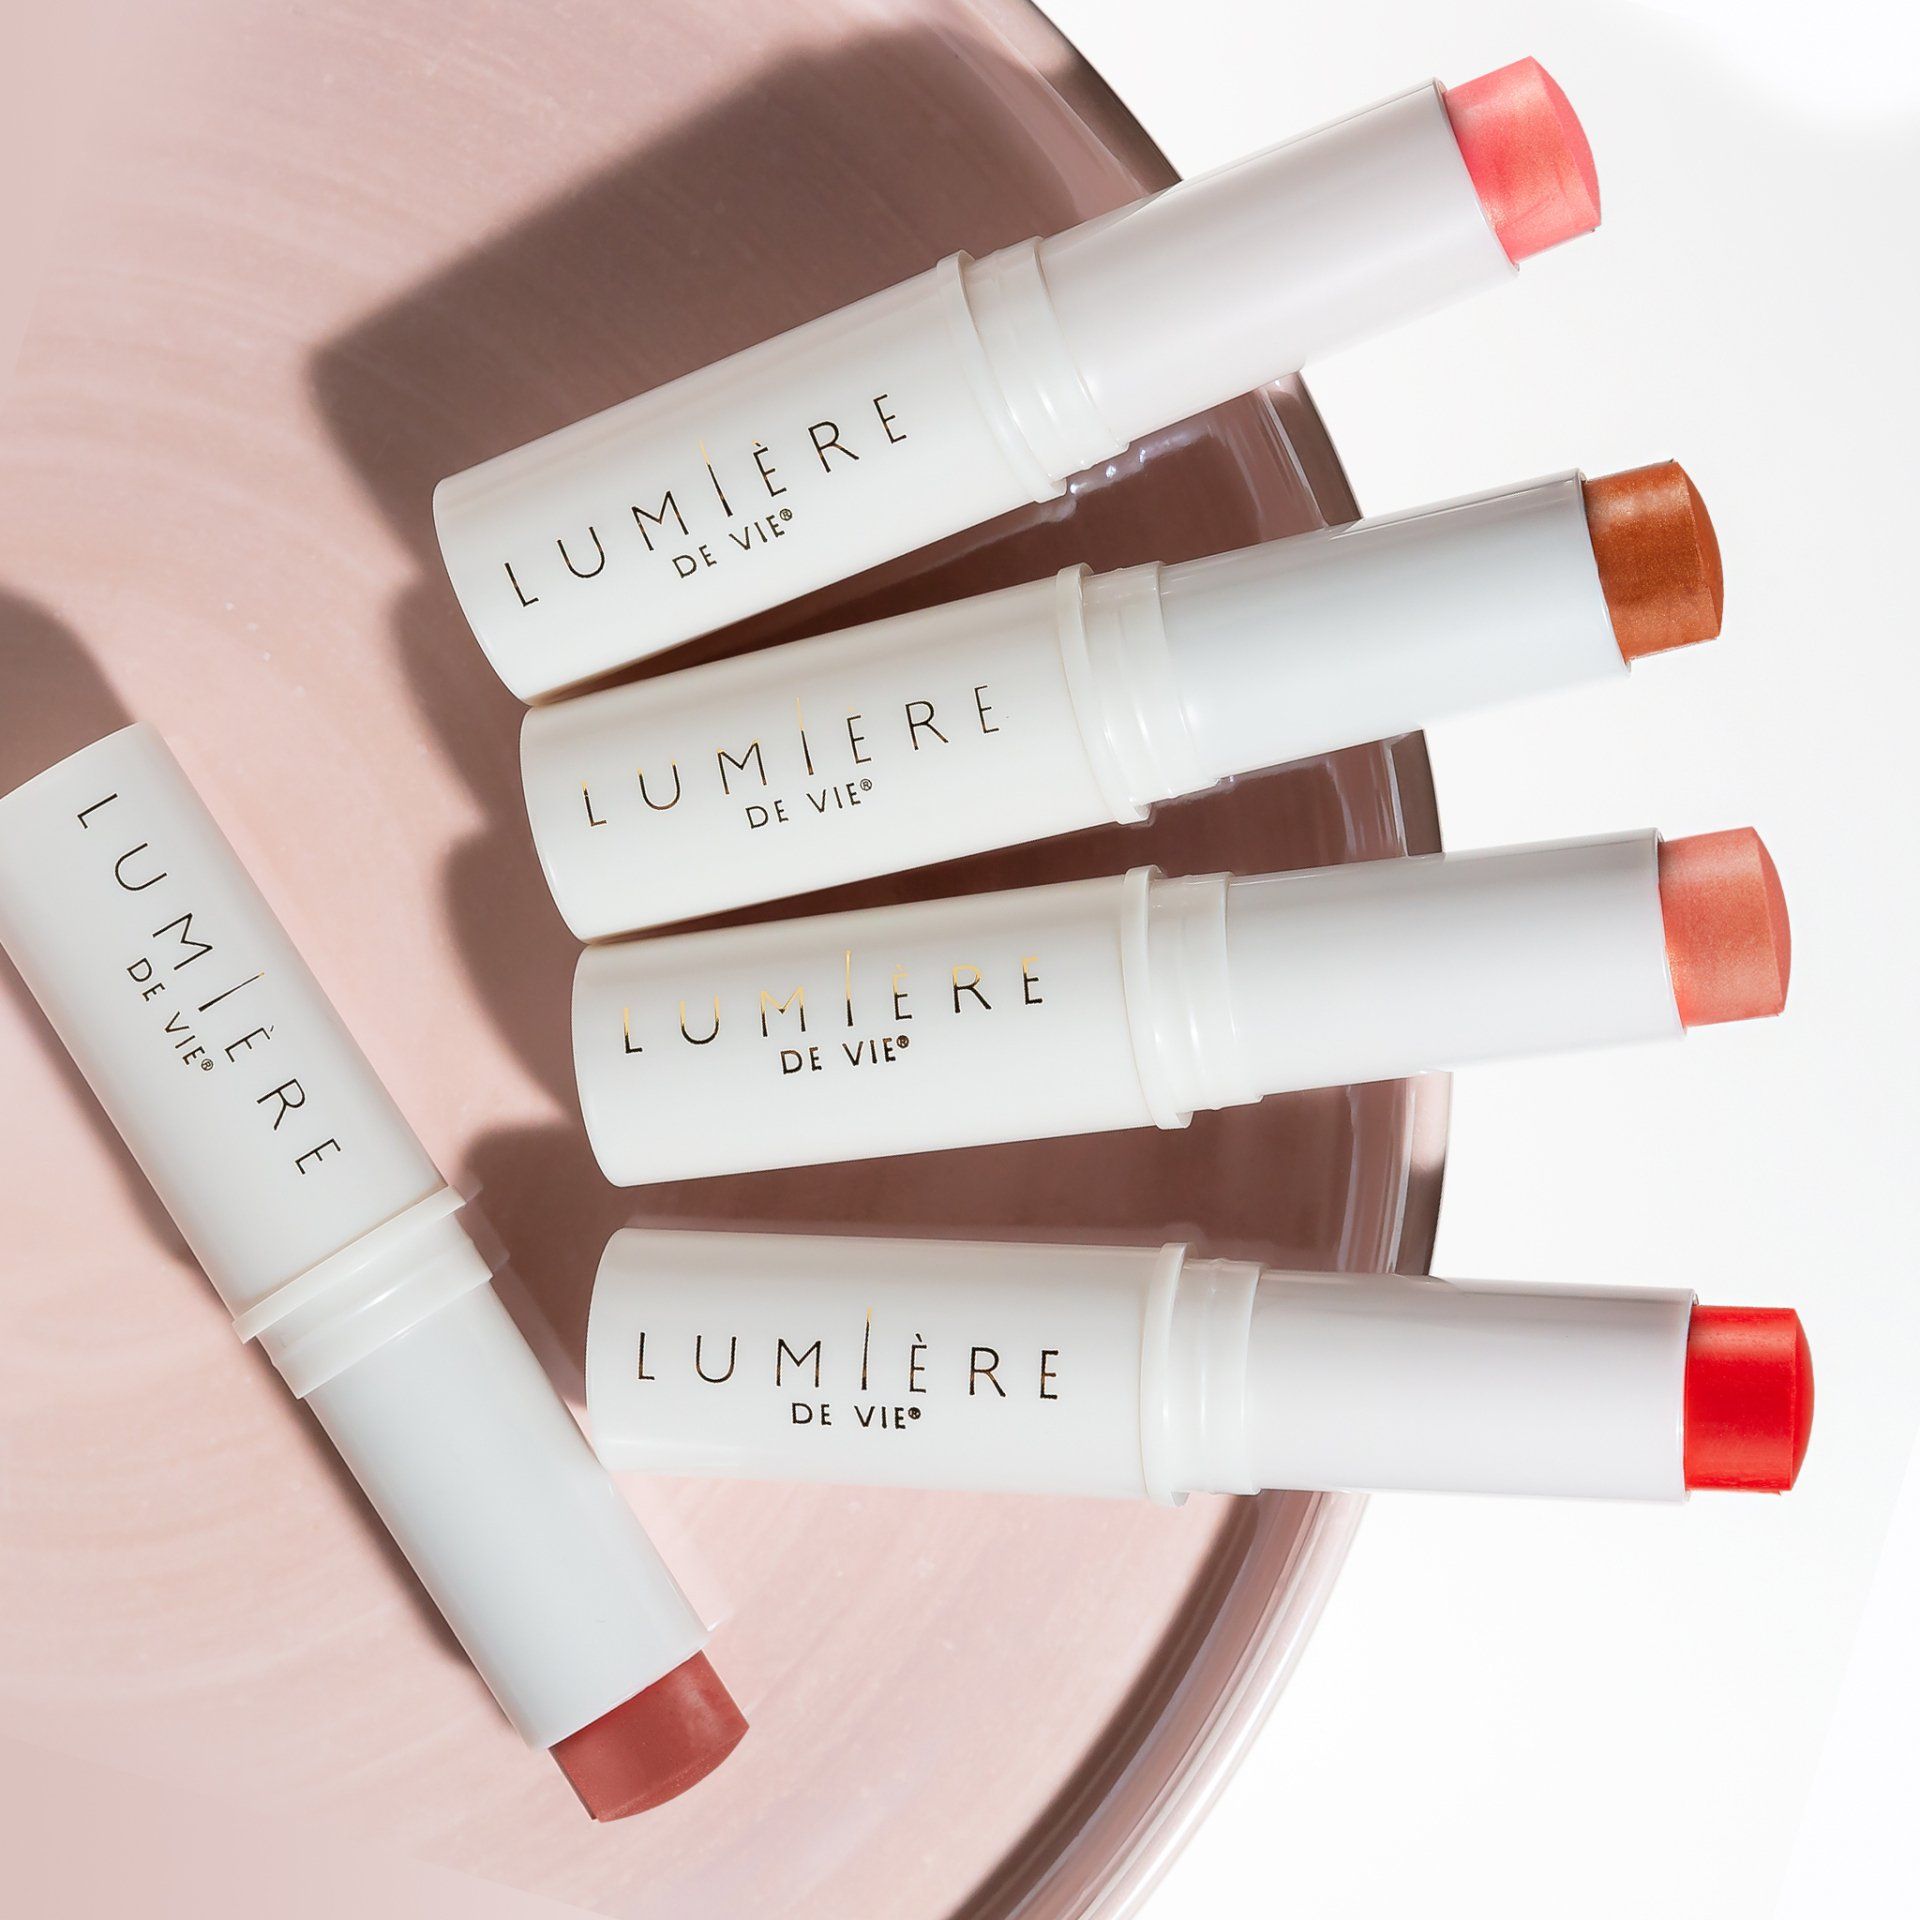
15. To Apply Blush & Highlighter
16. Blot, Blend, Soften
Ever have this happen?!? You went a little heavy with the
blush; it's ok! Simply take your damp blending sponge and blot & blend by pushing the sponge into your skin allowing it to pick up the access product until your blush is softened and blended into your skin.
17. Refresh Your Makeup
18. Add Some Moisture
19. For Healthy Skin
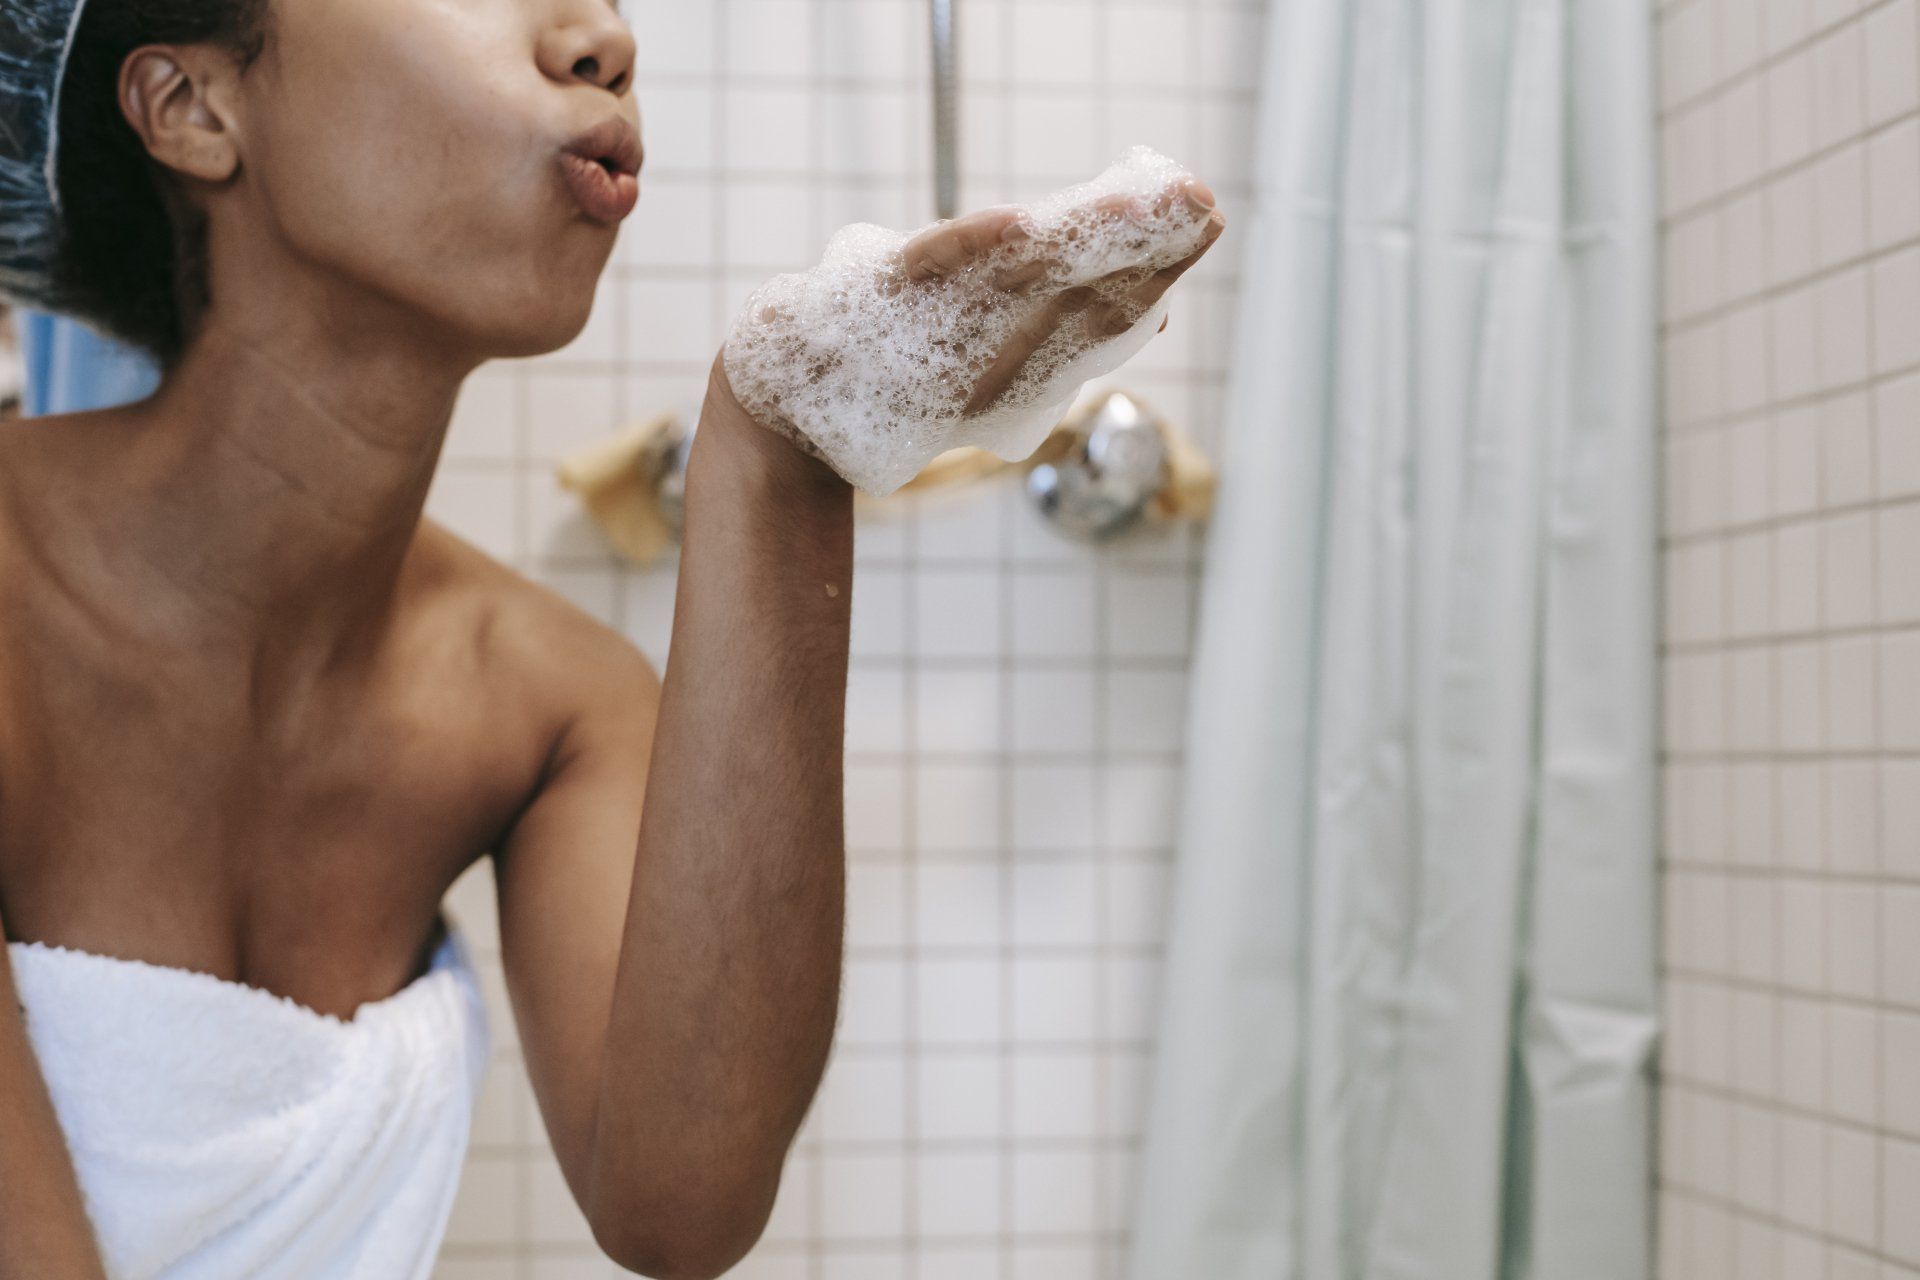
Cleanse your blending sponge with mild soap and rinse with water after application. Allow the sponge to air dry. We recommend cleaning this tool once a week with an anti-bacterial soap to maintain a sanitary surface. Blending Sponges can last 3–4 months with proper care.
20. How to Store
While air-drying your
blending sponge, set it out in a dry space where there is optimal airflow. Once completely dry, the sponge can be stored in its original container.